
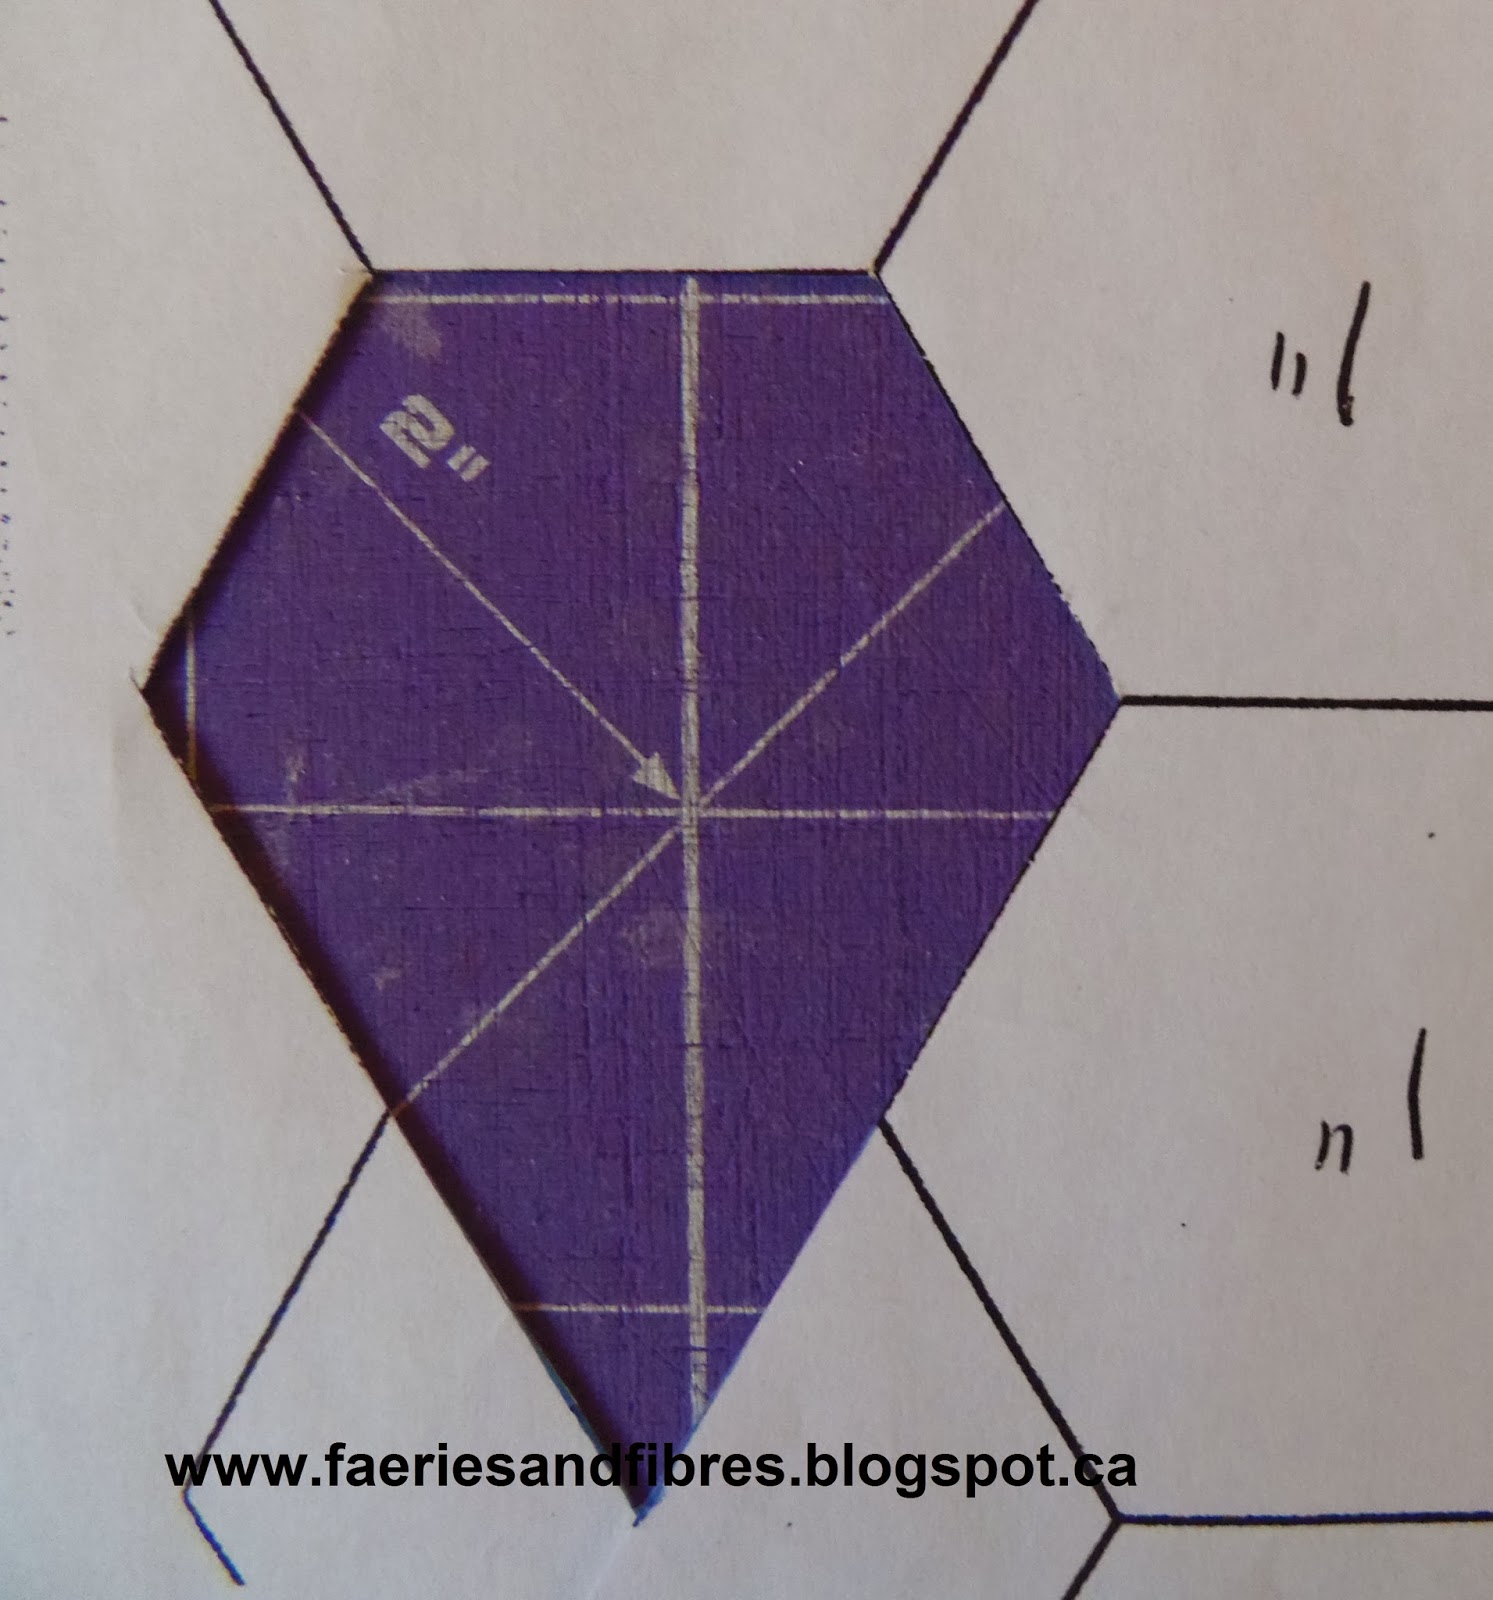
Yesterday I was playing around in my sewing room doing nothing in particular. I decided to fussy cut some shapes for English paper piecing. My plan was to create a motif that would be appliquéd to a background. To start I created a window template in a modified hexagon shape. I wrote about the modified hexagon on December 11, 2013. This template represents the finished size of the shape.
I sorted through some fabric and decided that this one had lots of curly queues which are a great option for fussy cutting and I wanted to do something red so this fabric ticked all boxes!


I then moved my window template to the next motif, lined up the registration marks with the landmarks on the fabric and traced inside the window motif. I repeated this until I had traced six modified hexagons. I was careful to make sure there was enough fabric between each motif for the seam allowances.
Next I cut out the motifs with scissors adding at least a 1/4" seam allowance all around. It didn't have to be precise. You can see the line I drew and the seam allowances. I clipped the point at the bottom of the shape so that it was blunt.

HELPFUL TIP: When you finger press give a good pinch. Release and move your fingers over a little and pinch again. Do not slide your fingers because this can distort the fabric along the bias edges.

I didn't use an iron because it would make my pen marks disappear. In addition if I had used an iron it would make a hard crease and there would have been no wiggle room when it came time to stitch the patches together (I love having a little wiggle room).
I next folded over the right side on the line and gave it a good finger press.

The left side is then folder over on the line and again it gets a good finger press.

I start basting from the right hand side just down from the point. I take my needle down through the fabric and bring it up through the folds at the point. I find that if I do it this way the thread on the back keeps the fold nice and flat.

I baste the left side that was finger pressed but stop short of the next side which I will fold and finger press. I baste that side again stopping short of the next corner so I can fold it on the line and finger press.
I continue in this manner folding and basting, until the entire piece is basted.

I repeated these steps with the five remaining modified hexagons. Once they were basted I tried out two arrangements before stitching. I like this modified hexagon (technically I suppose it is a pentagon since it has only five sides). This is the first arrangement. I like the open centre so that the background fabric shows through. I could always appliqué or embroider a little detail there to add some zip!

Arranged with the points facing out
This is the second arrangement.

Arranged with the points facing in
I liked the first arrangement best and so I stitched it together in the normal English paper piecing method. Now it is time for a press with a hot dry iron and voila! A paperless English paper pieced hexagon ready to be appliquéd to a background fabric!

Here is another one made using the same method, paperless English paper piecing!

Was that fun, fast and easy or what? Until I post again, happy paperless English paper piecing!
Karen H
p.s. If you are a hexagon lover be sure to check out Angie's Hexie Friday Link-up party for more inspiration!
very cool! I have yet try making anything like this or a regular hexagon-am going to give it a go next year
ReplyDeleteThe beauty of this method is that as long as the sides that touch match up everything will go together like a charm! And if you have an open centre it is even easier! When you do give it a try feel free to give me a shout if you have any questions! I'll do my best to answer your questions and help you out if I can!
DeleteGood morning Karen. I love hexies! I will at least check out your quilt along, as I also enjoy applique and embrodery. (just not LOTS of it!!) I will have to do a couple paperless hexies to see if they even come close to the precision of yours, which are beautiful. Have a wonderful hexie day! Phyllis
ReplyDeleteHi Phyllis! There will be little bits of embroidery but it will be optional! There will also be varying amounts of applique but it can be reduced so that there is only a little bit! My goal is to showcase the things I like to do but let the quilter make her own decisions so that she enjoys the process of making and that she ends up with a quilt that is uniquely hers!
DeleteAs far as the paperless hexagons go, as long as the lines are drawn precisely (and you can achieve that with a window template) the finger pressing is easy....just fold on the line and baste! The only parts that need to be reasonable precise are the sides that get stitched together!
Hope you have a wonderful hexie day too!
Another great post. Excellent fussy cutting.
ReplyDeleteThanks! Just a little bit of fussy cutting in a quilt really goes a long way! Glad you enjoyed the post. If you try out this technique I would love to know how you make out!
DeleteI'm bookmarking this post! Fabulous EPP - excellent tutorial. And thanks for linking it to Hexie Friday!
ReplyDeleteSo happy to know that you liked the tutorial. And thanks for the link up party. It is a great way to see what others are doing and to get inspired to create!
Deletei just found your blog. the quilt along might be just what i am looking for. will you tell me
ReplyDeletewhat size hexies will be used. i live in a remote area and would like to know so when i go to town i can get the supplies i need thank you
kathleen
ps do you have a button i can put up on my blog
A wonderful tutorial Karen thank you, I love to learn some thing new every day and to day it is Paperless English Paper Piecing LOL. My grandmother said a day spent with out laughter or not learning some thing new was a day wasted and I feel the same. SO a big thank you for sharing your skill. Love the red fabric it is to die for. Cheers Glenda Australia.
ReplyDeletelove how you do the paperless piecing, I have done the American piecing without the folding of seam allowance and your way is wonderful,
ReplyDeletethank you for sharing.
I'm off to give it a go..
Julia
Well, I'll just have to try this on my hexies--I usually use paper and sew, have looked at glue baste, but wan't thrilled with the gluing...thank you for re-kindling my interest in hexagons...hugs, Julierose
ReplyDelete